Guide to Setting Up Your Own Minecraft Server
Understanding Server Terminology
A server in terms of Minecraft refers to a computer program that allows players to connect and play together in the same multiplayer world. This is different than a singleplayer world where only one person plays alone. There are a few common options for hosting a Minecraft server - free services like Aternos and Minehut that allow hosting a small server for a few friends. You can also run your own dedicated server by downloading the Minecraft server software and running it on a computer you own.
Hardware Requirements
The minimum system requirements to run a basic Minecraft server for a few friends are at least 2GB of RAM, dual-core processor, and about 20GB of free disk space. More powerful hardware is recommended if you want to host a larger server with 10 or more concurrent players. Be sure to stop any unnecessary background processes on the server computer to optimize performance and free up memory and CPU resources for the game. Monitoring and tweaking server performance will help deliver the best gameplay experience.
Setting Up a Server on Windows
All players will need to download and install the Java Edition of Minecraft from Minecraft.net before being able to connect. Using a wired Ethernet connection for your server computer is preferable to WiFi for more stability and bandwidth. When also playing the game yourself while hosting, 4GB of RAM or more is recommended to ensure smooth performance for all. After installing the latest Java Runtime Environment, simply download the Minecraft server files and run the start batch script to get your world online.
Choosing a Hosting Option
For beginners or those on a budget, renting server hosting is very easy as services handle all the technical setup and maintenance. However, if you already have a computer that meets the requirements, self-hosting allows full control and customization. A popular tool for managing a self-hosted server is Linux Game Server Manager (LinuxGSM) which automates much of the installation and updating process through its intuitive interface. Consider your needs and available resources to decide between rented hosting or self-hosting.
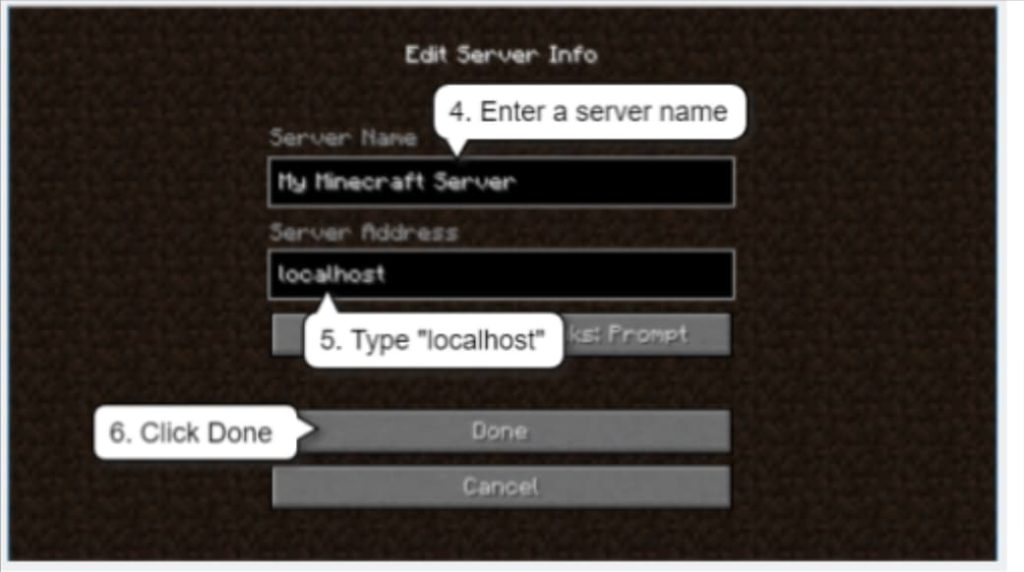
Making a World Multiplayer
To convert an existing singleplayer world for multiplayer access, simply locate the level data folder and make a backup copy. Then replace the “levelname” text in the “level- seed” line of the level.dat file with your choice of world name. Next, edit the server.properties file found in the server folder to match the new world name. It’s important not to change the server port number without also modifying this file accordingly or clients won’t be able to connect. With these changes, your world is now ready for friends to join!
Port Forwarding for External Access
For players outside your home network to access the server remotely, you need to forward the server port through your home router. First, log into your router administrative page, then locate the port forwarding or virtual server section. Enter the internal/local IP address of your server computer, the port it uses (typically 25565 for Minecraft servers), and enable TCP/UDP protocols. Lastly, provide others with your public IP address and port number so they can connect from anywhere with an Internet connection.
Popular Minecraft Java Edition Servers
One of the largest and most popular Java Edition servers is Hypixel, which averages over 20,000 concurrent players daily. It features an enormous variety of unique survival, arcade, and mini-game modes. However, its strict anti-cheat protections occasionally produce false-positive bans that are difficult to appeal. Mineplex is another top alternative that hosts tens of thousands of players each day across its classic survival and many mini-games. It tends to have a slightly more relaxed atmosphere compared to Hypixel. Both offer a wide selection of gamemodes if you don’t want to self-host.
Setting Up a Server on Linux
For those wishing to self-host on Linux, first install the latest version of Java from the operating system package manager. Then, download the official Minecraft server JAR file from Minecraft.net and place it in a new folder. To start the server, open a terminal window, navigate to the folder, and run the command “java -Xmx1024M -Xms1024M -jar minecraft_server.jar nogui”. This will launch the server with 1GB of memory allocated. Like Windows, players join by connecting to the server’s local IP. Linux makes for a reliable and lightweight server host.
Choosing a Hosting Option
Some key benefits of rented server hosting include reduced technical setup and maintenance burdens for those just wanting to play quickly. The hosting company handles hardware, software updates, backups and security - leaving you to focus on having fun building with friends. However, self-hosting offers full control over software, plugins and customization. If your home computer meets requirements, it can be a low-cost hosting solution. A popular self-hosting option is LinuxGSM, which automates server installation and updating through an easy-to-use interface. Consider your needs and available resources to choose between rented versus self-hosted options.
Helping Others
There are several places to find help if issues arise with your server setup. Player tutorials and guides on the official Minecraft Wiki website provide solutions to common problems. Minecraft server moderators often assist on public forums as well. When installing Java or the server software, carefully follow all instructions and confirm version numbers match requirements. Do not be afraid to ask for clarification! You can also test multiplayer connectivity by downloading world save files from PlanetMinecraft to confirm clients can retrieve server terrain and characters as expected. Documentation and community support make troubleshooting much easier.
Conclusion
With the right hardware, software configuration and network settings, anyone can host their very own vibrant Minecraft community from home. Rented hosting provides a low-effort introduction, while experienced players may prefer full control through self-hosting. Take time to carefully review setup guides, monitor performance and engage help channels as needed. Most of all, enjoy bringing your creations to life with adventures alongside real friends! The Minecraft server experience offers endless potential for shared gameplay however you host. May your builds be grand and players ever loyal to your world.